|
This blog post is NOT sponsored by the companies mentioned and I did NOT receive free product. Also, I'm NOT an affiliate for these products. This blog post reflects my personal opinion and is not influenced by these companies.
In my last blog post, I shared with you about an important tool I've started to use while I'm wood burning: a smoke absorber. I wanted to continue to share with you about the tools I use to create my wood burning art.
Beginner Wood Burner
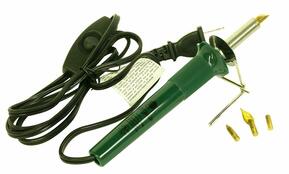 Photo Credit: Walnut Hollow Photo Credit: Walnut Hollow
When I just learned about wood burning and wanted to give it a try, I started out with a hobby wood burning tool.
I was pleased and to be honest, kind of surprised how inexpensive this tool was! It was only about $10. I started using the Walnut Hollow Creative Wood Burner. It requires a few minutes to warm up and then you’re ready to burn! These are my very first pieces I created with this wood burning tool: 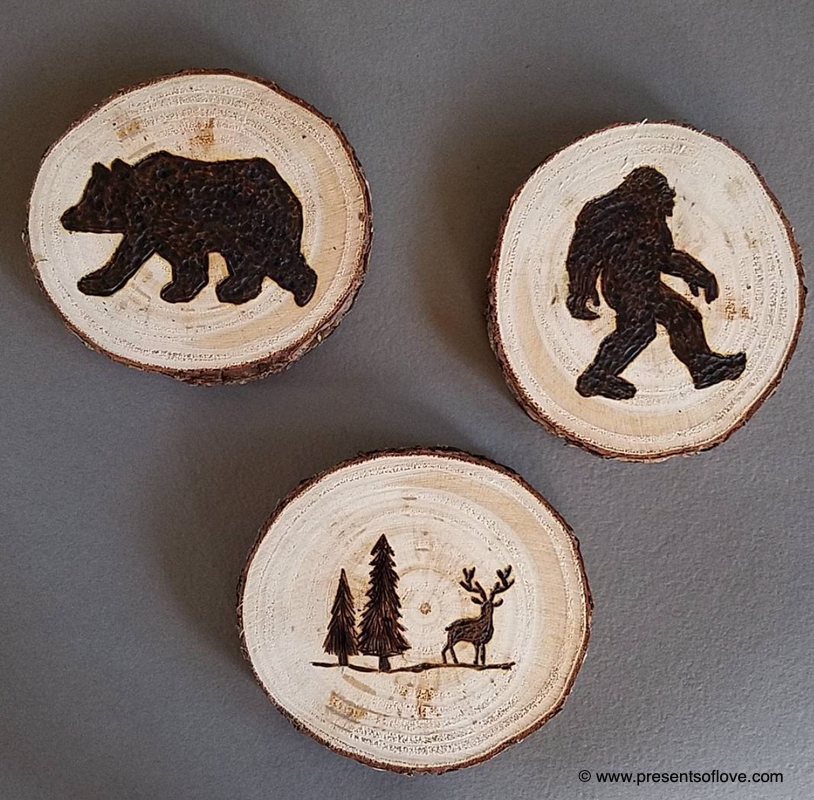
What I like about this tool:
The drawbacks of this tool:
Safety Tip: Be sure to tape down the metal stand so you don’t have to worry about a hot burner tipping over!
Professional Wood Burner
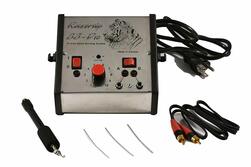 Photo Credit: Razertip Photo Credit: Razertip
Once I realized how much I was enjoying creating art through pyrography and wanted to add more wood burned gifts to my etsy shop, I decided to upgrade to a professional wood burner. I did a good amount of research and ended up choosing the Razertip SS-D10. Since I couldn’t find this tool locally, I purchased it online through treelineusa.com which I can highly recommend as they‘ve provided me with excellent customer service.
What I like about this tool:
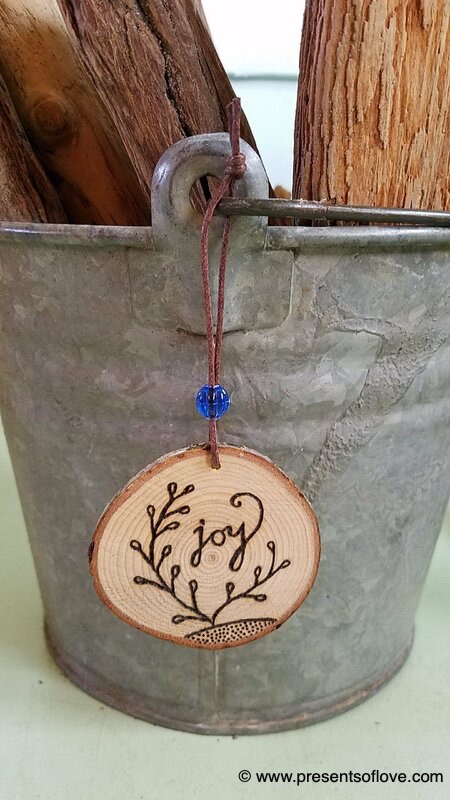
Here is an example of the more detailed work possible with a professional wood burning tool:
The drawbacks of this tool:
Honestly, there’s not much I don’t like about this wood burning tool. I’ll just make these two points:
Please note: this Razertip Wood Burner also comes as a single pen option (Razertip SK). This tool is a bit less expensive and may be a good alternative if you don’t think you’ll need to switch between pens very often and would prefer a professional wood burner at a lower price.
Other Accessories
To keep my lines sharp looking, I use the Razertip Tip Cleaner to scrape off any build-up. This tool is super easy to use as you just gently scrape the tip along the sharp edge and isn’t too abrasive.
Finally, I use graphite paper to transfer some of my illustrations to the wood. I start all my wood burning projects with sketching my ideas on paper. Depending on the design, I’ll then draw it onto the wood freehand or transfer it with graphite paper before making it permanent with wood burning.
That’s it! Hope you enjoyed reading a bit more about my favorite tools in creating my wood burning art.
Have you tried wood burning before? What type of tool do you use? Do you enjoy filling your spare time with another creative hobby? Would love to hear from you in the comments! If you enjoyed reading this blog post, please share!
0 Comments
Leave a Reply. |
Copyright 2024 mariekemertz.com / presentsoflove.com
All Rights Reserved. Images may not be used without permission of the artist.
Privacy Policy & Terms
All Rights Reserved. Images may not be used without permission of the artist.
Privacy Policy & Terms